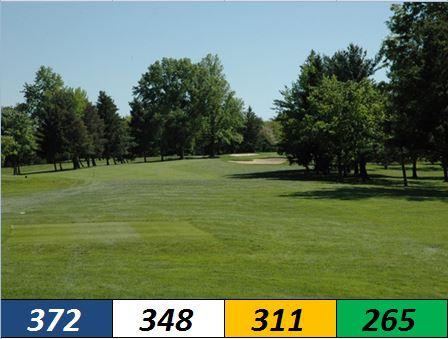
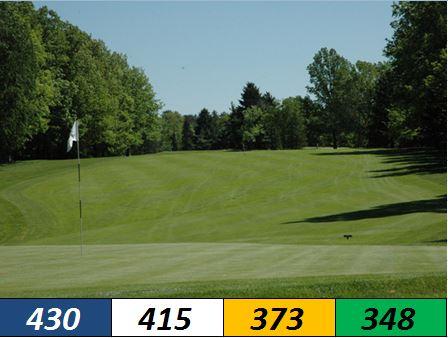
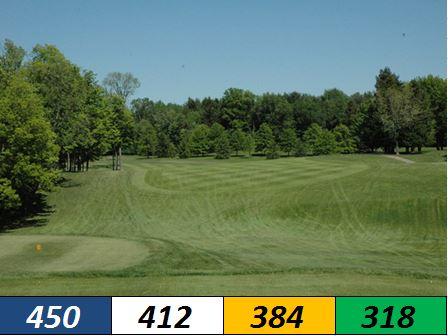
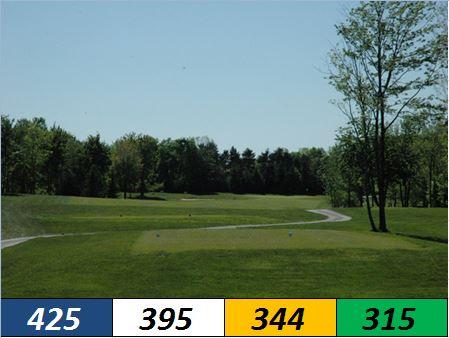
Hole 1
Par 4 | Handicap 13
The opening hole is a slight uphill dogleg right. Play to the 150-yard marker left of the fairway bunker for your best angle into the green.
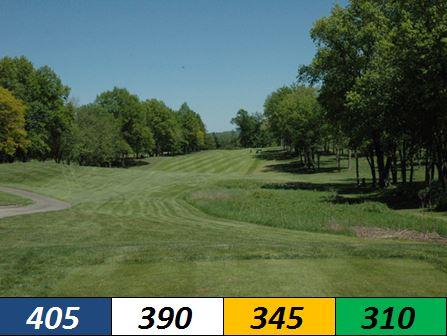
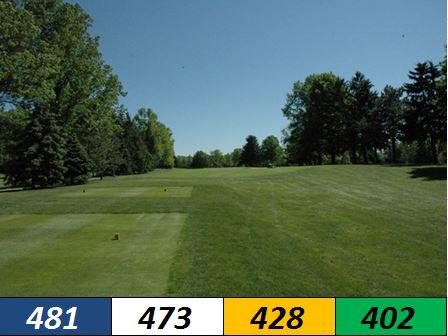
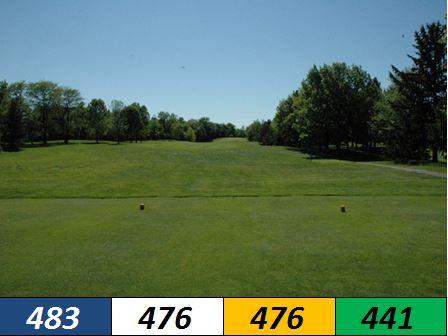
Hole 2
Par 4 | Handicap 3
The best approach to the green will be from the left center of the fairway. Two bunkers guard the long green — fairway accuracy is key.
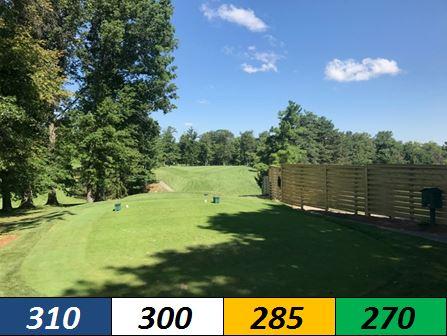
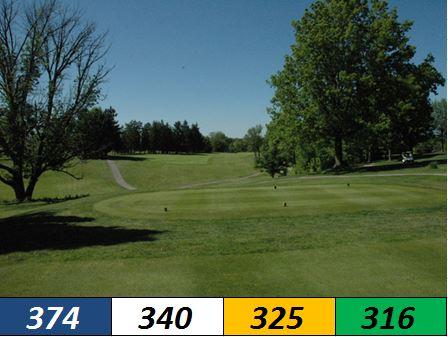
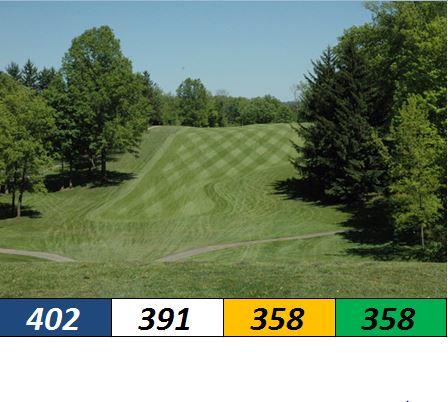
Hole 3
Par 4 | Handicap 17
A short dogleg right. You can attempt to carry the trees with a driver or position a long iron at the 100-yard post. Favor the left side off the tee — cutting it too close to the right leaves you blocked out by the trees.
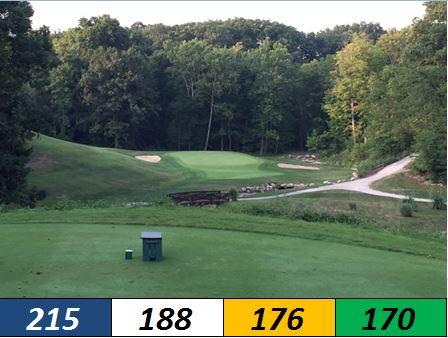
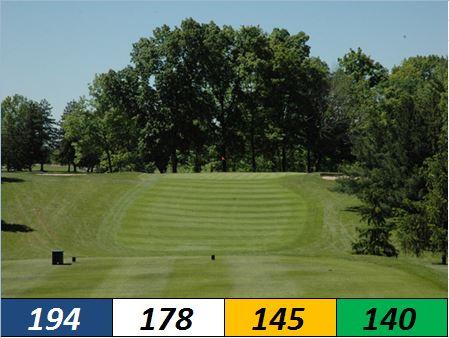
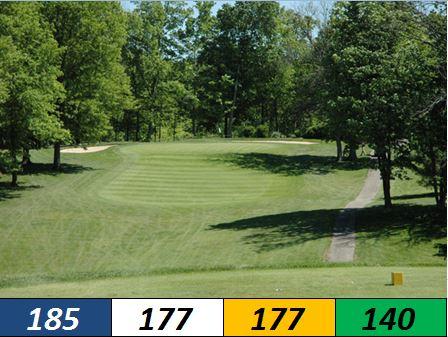
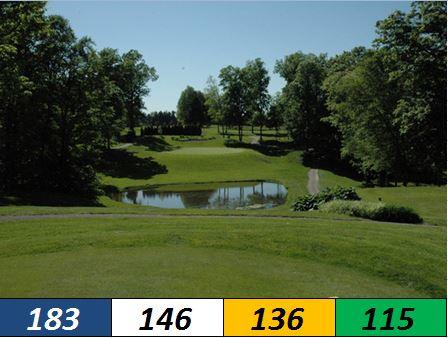
Hole 4
Par 3 | Handicap 9
A signature hole carved out of forest, playing severely downhill. Club down at least one club to account for the elevation drop. Short and left offers the best recovery position. A drop area is available.
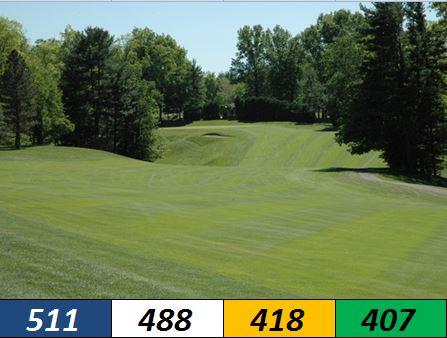
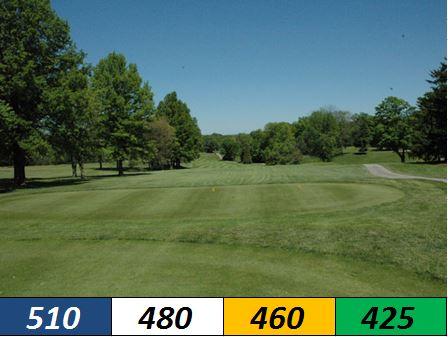
Hole 5
Par 5 | Handicap 7
This hole plays slightly uphill despite its moderate yardage. Keep your ball below the hole for your best chance at birdie — the green is severely sloped.
Hole 6
Par 4 | Handicap 1
Accuracy off the tee is essential to hit the green in two. Watch for the false front on the left side — par here is an excellent score.
Hole 7
Par 5 | Handicap 5
Hit down the left center of the fairway — do not favor the right side, as everything funnels back right. Stay below the hole on your approach.
Hole 8
Par 3 | Handicap 15
A straightforward all-carry shot. If your ball lands short, it risks rolling back down the hill — carry is everything on this hole.
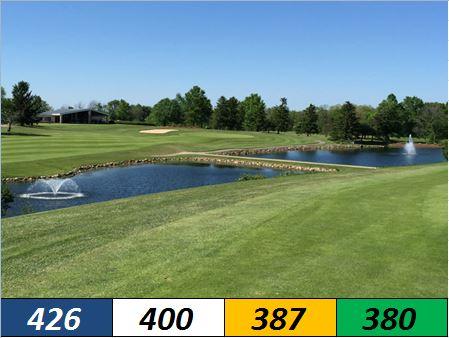
Hole 9
Par 4 | Handicap 11
A birdie opportunity with water on the right. Stay far enough left off the tee, as the ball tends to release to the right — a position too close to the hazard makes the approach much harder.
Hole 10
Par 5 | Handicap 16
A narrow fairway with a creek running along the right side. Shape your tee shot from right-to-left to set up the ideal line. The approach plays at least one club longer due to the uphill finish.
Hole 11
Par 4 | Handicap 6
This may be the most demanding tee shot on the course, playing uphill throughout. Watch for the hidden fairway bunker right of center.
Hole 12
Par 3 | Handicap 12
An all-carry shot where the ideal ball flight is right-to-left to avoid the tree line on the left. Two bunkers guard a small, sloped green.
Hole 13
Par 4 | Handicap 10
A good tee shot sets up an excellent birdie opportunity. The green slopes back-to-front and right-to-left — club selection on the approach is critical.
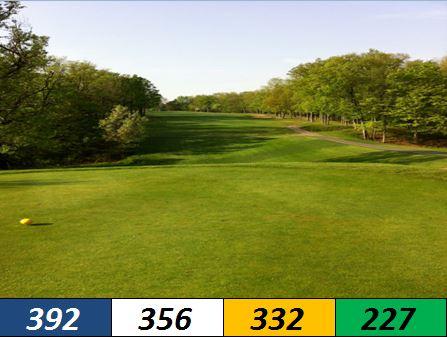
Hole 14
Par 4 | Handicap 4
The longest par 4 on the course. The ideal drive starts at the right center of the fairway and draws back left toward the tree. A straight or left-to-right tee shot leaves a much longer, more difficult approach.
Hole 15
Par 5 | Handicap 14
Aim your tee shot down the left center of the fairway to get the most out of the downhill slope. Keep your ball below the hole — the green is difficult and severely sloped.
Hole 16
Par 3 | Handicap 18
An all-carry shot over a valley and water. The green is severely sloped from back to front — carry your ball all the way to the flagstick or risk a difficult downhill chip.
Hole 17
Par 4 | Handicap 8
A slightly uphill tee shot. Play to the left side of the fairway for your best angle into the green on the approach.
Hole 18
Par 4 (Men) / Par 5 (Women) | Handicap 2
Known as one of the most difficult closing holes in Northeast Ohio. The best drive lands near the 150-yard marker, slightly left of center. Avoid a left-to-right approach — position is everything on this finishing hole.

Ready to Play Pine Hills?
18 challenging holes await. Book your tee time online and experience one of Northern Ohio’s best golf courses.