-
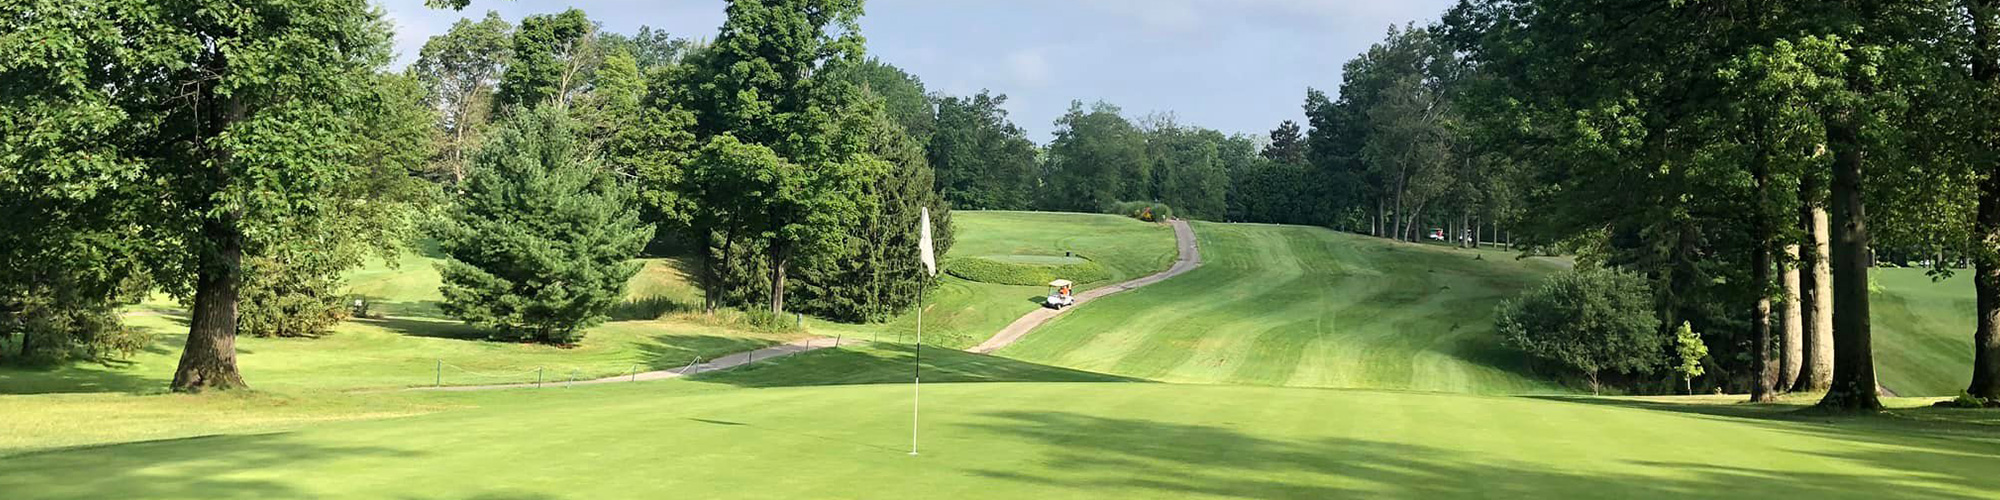
Hole #1
PAR 4
372 yards - Blue Tees
348 yards - White Tees
311 yards - Gold TeesThe opening hole is a slight uphill dogleg right. Play to the 150 yard marker left of the fairway bunker for your best approach into the green. Take an extra club for your second shot as it usually plays a little longer uphill and into the wind.
-
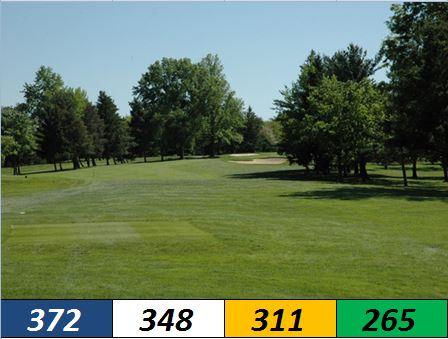
Hole #2
405 yards – Par 4
Accuracy is everything on this Par 4. Hitting the fairway is important as to not find yourself blocked out by the trees. The best approach to the green will be from the left center of the fairway. Take dead aim at the flagstick as the long green is guarded by two bunkers on the left and right.
-
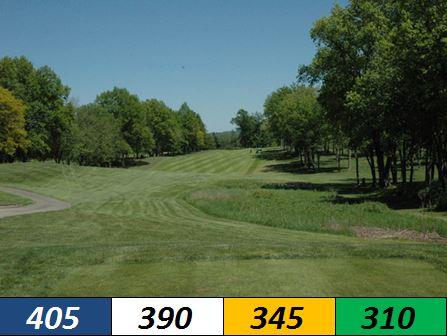
Hole #3
310 yards – Par 4
This short dogleg right par 4 is extremely demanding. You can choose to hit at the green over the trees with driver, but the smart play is to take out a long iron and to hit at the 100 yard post in the middle of the fairway. Favor the left side as you can leave yourself blocked out by the trees if you are short and right of the 100 yard post.
-
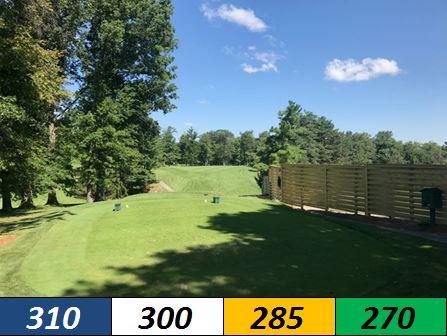
Hole #4
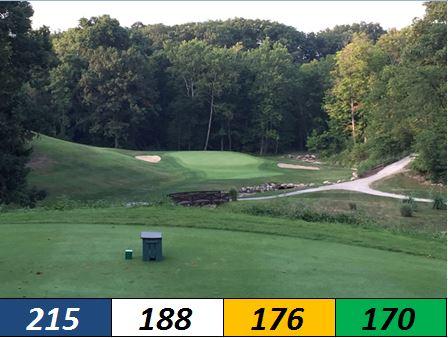
215 yards – Par 3
As one of our signature holes, this picturesque par 3 can look intimidating from the top of the hill. Just pick your line and hit at your target. Hit one club less as it is severely downhill. Short and left is the best opportunity to get up and down as trouble surrounds the green. There is a drop area down by the green if you happen to find the creek.
-
Hole #5

481 yards – Par 5
Although short in yardage, this par 5 is harder than you think as it does play slightly uphill. Hit your drive straight up the middle being sure to avoid the fairway bunker on the right. The green severely slopes from back to front and is protected by two bunkers on the left and the right. Keep your ball below the hole for your best chance at making birdie.
-
Hole #6
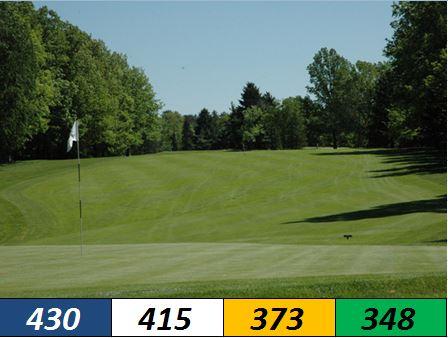
430 yards – Par 4
Accuracy off the tee is essential to hitting the green in two on this difficult par 4. Be sure to aim for the center of the green to avoid the false front on the left side of this difficult green. Par is a great score on this hole.
-
Hole #7
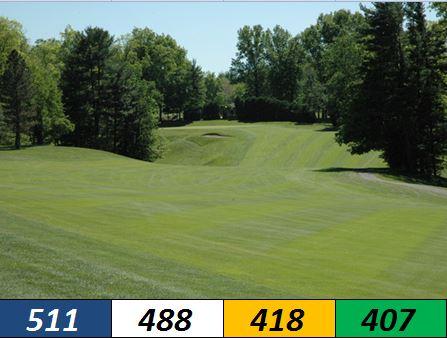
511 yards – Par 5
Take out driver and hit down the left center of the fairway. Do not favor the right side as everything will funnel back to the right. If you hit a good drive, the second shot will be extremely demanding as it is uphill and all carry to reach the green in two. If you miss the green, par can be a difficult score. The smart play is to leave your second shot in front of the green on the right and look to get up and down for birdie. Be sure to stay below the hole as this green has some hidden slope from back to front.
-
Hole #8
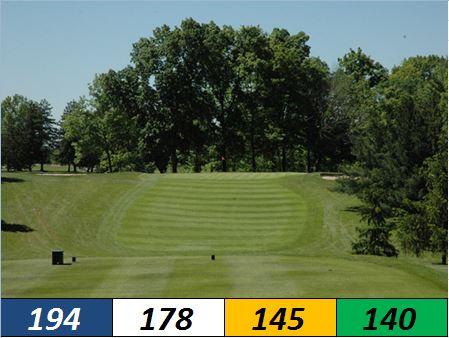
194 yards – Par 3
A straight forward par 3. The tee shot is all carry so be sure to have enough club in your hand. If your ball lands short, there is risk of it rolling back down the hill leaving for a difficult par. Take advantage of the long green and hit it on the surface for your best chance at making a birdie.
-
Hole #9
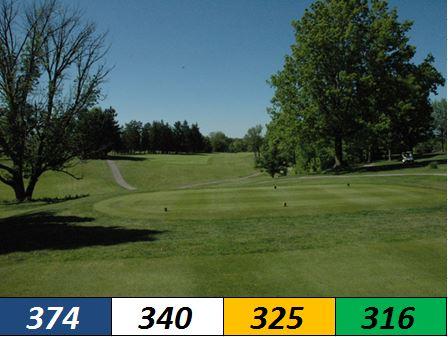
374 yards – Par 4
The short final hole on the front nine is an excellent chance to make birdie. There is water along the right side so be sure to stay far enough to the left side of the fairway as the ball will release to the right following the slope of the fairway. The green also will release right so be careful going directly at the pin if it is near the right portion of this small green.
-
Hole #10
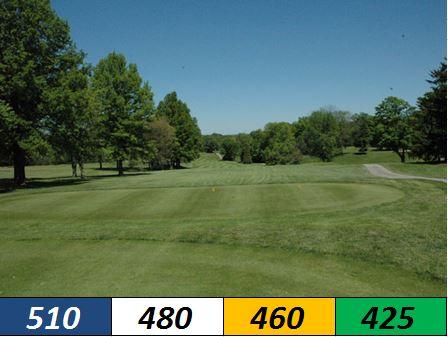
510 yards – Par 5
A tee shot that shapes from right to left is ideal for this demanding hole as there is a creek on the right side of the narrow fairway. Your approach into the green is uphill and will play at least one club longer.
-
Hole #11
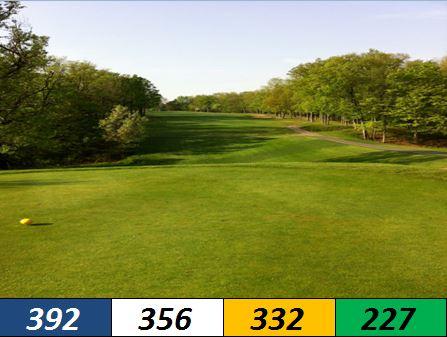
392 yards – Par 4
This hole plays difficult and might be the most demanding tee shot on the course as it requires both accuracy and distance. This hole plays uphill the entire way and shots that are not in the center on the fairway will likely roll into the rough. Make note that there is a fairway bunker on the right side of the fairway that is not viewable from the tee box. This green slopes from back to front and an uphill putt is ideal for a back pin location.
-
Hole #12
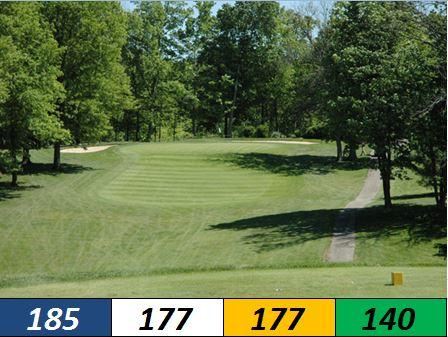
185 yards – Par 3
The 12th hole par 3 is all carry and can play one or two clubs longer depending on wind. The ideal shot shape is right to left to avoid the tree line on the left and for your best chance at holding the green. Beware of hitting over the green as there is not much room and two bunkers, one left and one behind, that make for very difficult shots with this small and sloped green.
-
Hole #13
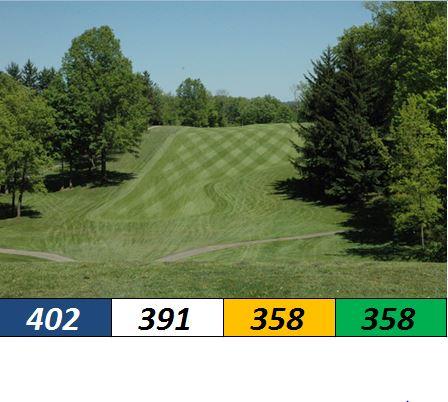
402 yards – Par 4
Take out driver and hit down the center. This hole seems long from the tee but a good tee shot will leave you an excellent opportunity for a birdie. The green slopes from back to front and from right to left. A pin location on the left side of the green should be a green light to attack the flag with an approach shot that curves from right to left.
-
Hole #14
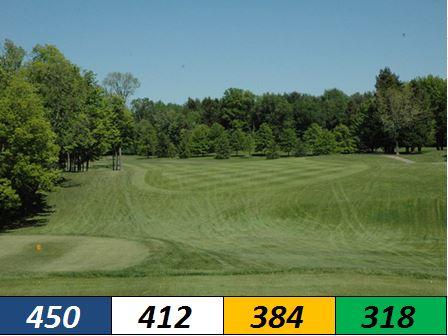
450 yards – Par 4
Easily the longest par 4 on the course, this hole requires a well thought out tee shot. Long hitters will be able to cut the corner with their driver but the ideal shot here is to start to the right center of the fairway and bring it back left towards the tree in the middle of the fairway. A good tee shot will leave you with a mid to short iron into a narrow green. Be careful with your approach as the ball has a tendency to release uphill to the back portion of the green.
-
Hole #15
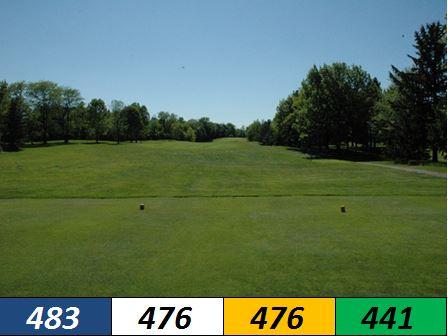
483 yards – Par 4
For the longest of hitters, aim your shot down the left center of the fairway for your best chance to get all the way down the hill because of the slope from left to right. Tee shots that are too far to the right will end up in the right rough and could lead to a difficult second shot. Pay close attention to your approach shot since it is important to keep your ball below the hole to avoid a 3 putt on this extremely difficult and severely sloped green.
-
Hole #16

183 yards – Par 3
Similar in design to our other par 3’s, this tee shot is all carry as you hit over a valley and a small body of water. The green is also severely sloped from back to front so be sure to carry your ball all the way to flagstick as it will likely stop as soon as it hits the surface.
-
Hole #17
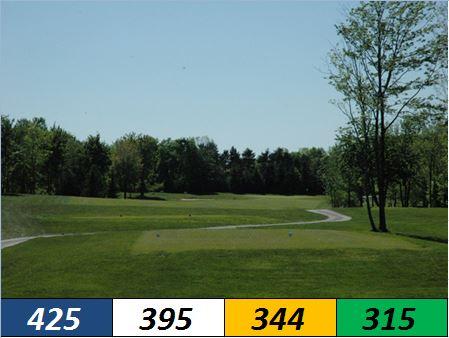
425 yards – Par 4
The tee shot is slightly uphill and will need enough carry to get over the mound that is about 200 yards from the green. Play to the left side of the fairway for your best chance at a close approach onto one of our larger green complexes.
-
Hole #18
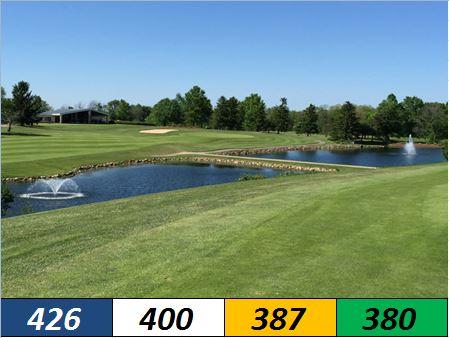
426 yards – Par 4 (men) - Par 5 (women)
Depending on the tee boxes you are playing from, there are multiple ways to play this hole. The best tee shots will land as close as possible to the 150 yard marker and hopefully a little left. Known as one of the most difficult closing holes in northeast Ohio, the approach shot from the fairway will likely be a long iron in. Avoid the temptation to hit an approach shot that curves from left to right. If you leave your shot out to the left, it will be a very hard up and down to save par. A birdie on this hole and you will earn you bragging rights among your group.